
Cara Dapat Visa: Panduan Lengkap untuk Pemula

How to Get a Visa: A Complete Guide for Beginners

So you have a trip coming up, or maybe you are dreaming of studying or working overseas, and someone just hit you with the words: “You need a visa for that.” Suddenly the excitement takes a back seat and the anxiety moves in. What documents do you need? Where do you even apply? How long does it take? If you have ever felt that mini panic, you are definitely not alone. Millions of people go through this every year, and the good news is that getting a visa is far less scary than it looks once you break it down into clear steps.

This guide is here to walk you through the whole process from scratch. No jargon, no confusing bureaucratic speak. Just a straightforward, honest look at how visas work and what you need to do to get one. Let’s get into it.

What Is a Visa and Why Do You Need One?

A visa is an official permission granted by a foreign country that allows you to enter, stay, or transit through its borders for a specific purpose and time period. Think of it as a stamp of approval from the destination country saying, “Yes, you are welcome here, and here is what you can do while you are here.”

a traveler at an embassy reception desk handing over a folder of documents to an official

1. Visa on Arrival vs. Pre-Approved Visa

Some countries offer a visa on arrival, which means you can get your visa stamp right at the airport when you land. Others require you to apply in advance through an embassy or consulate, sometimes weeks before your departure date. Knowing which type applies to your destination is the very first step.

2. e-Visa: The Modern Alternative

Many countries now offer an e-visa, a fully online application process where you upload your documents, pay the fee, and receive approval via email. It is often faster and more convenient than visiting an embassy in person. Always check whether your destination offers this option before you start your application.

Types of Visas You Should Know About

Not all visas are created equal. The type you apply for depends entirely on your reason for traveling. Applying for the wrong type is one of the most common mistakes beginners make, so let’s clear this up right away.
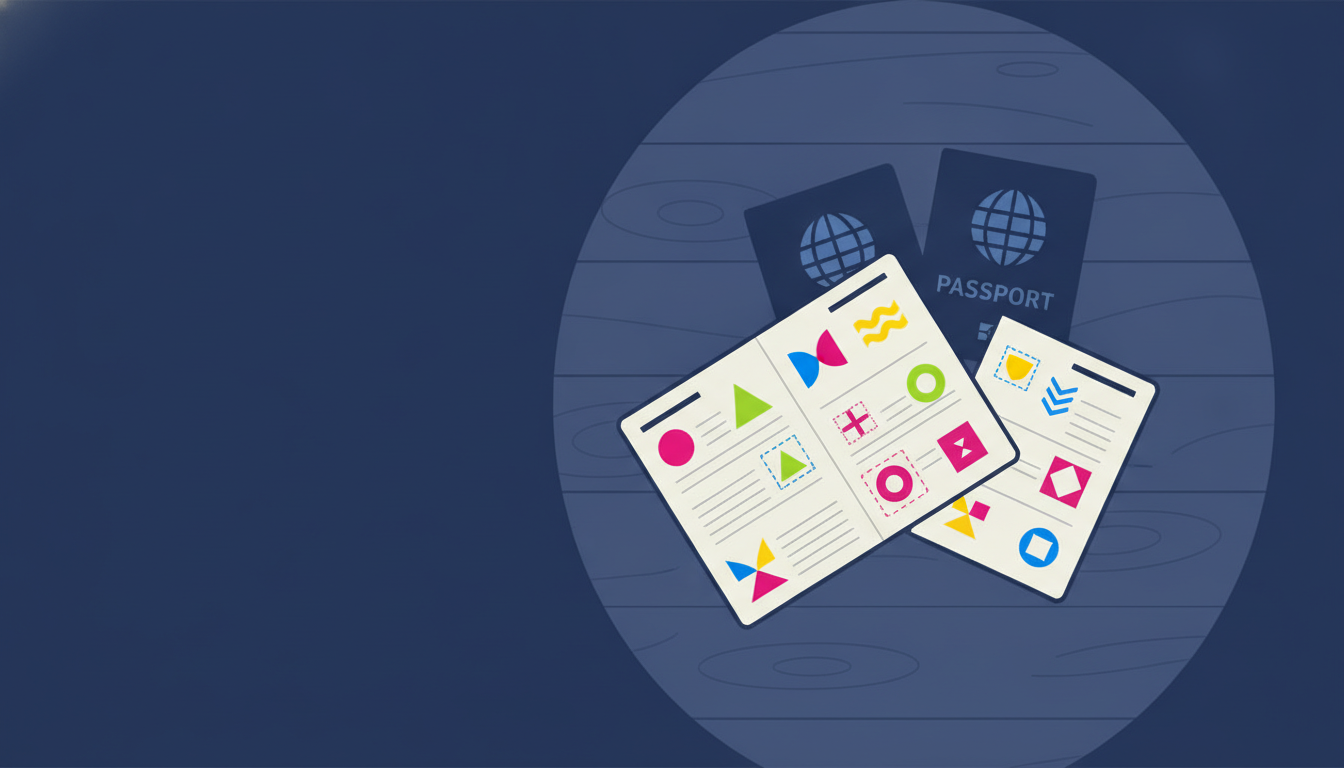
a collection of open passports with colorful visa stamps spread out on a wooden table

1. Tourist Visa

This is the most common type. It allows you to visit a country for leisure, sightseeing, or visiting friends and family. Tourist visas are usually short-term, often ranging from 30 to 90 days depending on the country.

2. Student Visa

Planning to study abroad? You will need a student visa. This type of visa is tied to your enrollment at an accredited institution. If you are exploring this path, check out the full breakdown on how to study abroad from Indonesia for a broader picture of what to prepare.

3. Work Visa

A work visa gives you legal permission to be employed in another country. These are generally more complex to obtain and often require sponsorship from an employer. Requirements vary widely from country to country.

4. Business Visa

If you are attending meetings, conferences, or negotiating contracts, a business visa is what you need. It does not usually allow you to be formally employed in the country, just to conduct business activities.

5. Transit Visa

Passing through a country on the way to your final destination? Some countries require a transit visa even if you are just changing flights. Always double-check this before booking a layover.

How to Get a Visa: Step-by-Step

Now we get to the heart of it. Follow these steps carefully, and the process will feel a lot more manageable.

a person sitting at a desk carefully filling out printed application forms with a pen, passport and photos nearby

1. Determine the Visa Type You Need

Start by being crystal clear on your purpose of travel. Going on holiday? Tourist visa. Joining a university program? Student visa. Nail this down first because everything else flows from it.

2. Check the Requirements for Your Destination Country

Visit the official embassy or consulate website of the country you are traveling to. Requirements differ significantly by nationality, destination, and visa type. The official source is always the most reliable one. Do not rely solely on travel forums for this.

3. Prepare Your Documents

This is where most people feel overwhelmed, but it is really just a checklist. Common documents include:

  • A valid passport with at least six months of validity remaining. If yours is expiring soon, check out this complete guide on passports before going further.
  • Completed visa application form
  • Recent passport-sized photographs that meet the specific size and background requirements
  • Proof of accommodation (hotel booking, rental agreement, or invitation letter)
  • Proof of sufficient funds (bank statements, usually covering the last three to six months)
  • Return or onward flight ticket
  • Travel insurance (required for some countries, especially in Europe)
  • For student and work visas: acceptance letter or employer sponsorship letter

Each country has its own specific list, so always cross-reference with the official embassy requirements.

4. Fill Out the Application Form Carefully

Whether online or on paper, fill out every field accurately and consistently. Inconsistencies between your form and your supporting documents are a red flag for visa officers. Take your time here. A small typo can cause delays or even a rejection.

5. Submit Your Application

Depending on the country, you may submit your application in person at the embassy or consulate, through a visa application center (like a VFS Global office), or entirely online for e-visa applications. Book your appointment early, especially during peak travel seasons, as slots fill up fast.

6. Pay the Visa Fee

Most visas come with an application fee. Payment methods vary by embassy, ranging from cash to credit card or bank transfer. Keep your payment receipt as proof of submission.

7. Wait for Processing

Processing times can range from a few business days to several weeks. Plan ahead and apply well before your intended travel date. If you are also planning to open a bank account in your destination country, check out how to open a bank account abroad so you can prepare for that step in parallel.

8. Track and Collect Your Visa

Many embassies and visa centers offer online tracking. Once approved, collect your passport in person or wait for it to be mailed back, depending on the process. For e-visas, you simply print the approval document or save it digitally.

Common Reasons Visa Applications Get Rejected

A rejection is not the end of the world, but it is absolutely something you want to avoid. Here are the most frequent reasons people get turned down:

  • Incomplete or incorrect documents – missing even one required item can result in a rejection
  • Insufficient proof of funds – visa officers want confidence that you can support yourself during your stay
  • Weak ties to your home country – if you cannot show that you have reasons to return (a job, family, property), some embassies may suspect you plan to overstay
  • Previous visa violations or overstays – these show up in your travel history and can seriously hurt your application
  • Inconsistent information – any mismatch between your form, passport, and supporting documents raises questions

Tips to Improve Your Chances of Approval

A few smart habits can make a real difference in how your application is received.

  • Apply early. Give yourself plenty of buffer time before your travel date.
  • Be thorough. Submit every document asked for, even optional ones that strengthen your case.
  • Be honest. Never falsify information on a visa application. The consequences are serious and long-lasting.
  • Show strong home ties. Include proof of employment, enrollment, or property if applicable.
  • Follow the photo specifications exactly. Many applications are delayed simply because the photo dimensions or background color was wrong.

See Also: International Scholarships for Indonesian Students: Full Guide

Getting a visa does not have to be a stressful experience. Once you know the steps and understand what embassy officers are looking for, it becomes a straightforward process of gathering documents and being organized. Whether you are heading overseas for travel, study, work, or a fresh start as part of the Indonesian diaspora living abroad, a well-prepared visa application is your first real step toward making that journey happen. You have got this.

Download the Transfez App

The Transfez app helps you send money abroad faster, cheaper, and more efficiently. Jack Finance can also support your company's cross-border transactions. Sending money to family studying, working, or traveling overseas? Transfez has you covered. Available on Android and iOS — download now!


Cara Dapat Visa: Panduan Lengkap untuk Pemula

How to Get a Visa: A Complete Guide for Beginners

You’ve got a dream destination in mind, a rough travel plan, and a whole lot of excitement. Then someone mentions the word “visa” and suddenly everything feels complicated. Sound familiar? You’re definitely not alone. For a lot of first-time travelers and soon-to-be expats, figuring out how to get a visa feels like solving a puzzle with missing pieces.

Here’s the good news: it’s really not as scary as it sounds. Whether you’re heading abroad for a holiday, a job, or a longer stay, this guide will walk you through the whole process in plain, simple terms. Think of it as your friendly cheat sheet. And if you’re also planning to live and settle abroad, understanding visas is absolutely your first step.

What Is a Visa and Why Do You Need One?

Before anything else, let’s get the basics straight. A visa is an official permission granted by a foreign country that allows you to enter, stay, and sometimes work there for a defined period. Think of it as a stamp of approval sitting inside your passport.

Not every destination requires a visa. Some countries offer visa-free access or visa-on-arrival to Indonesian passport holders, while others require you to apply in advance. It all depends on your nationality, your destination, and the purpose of your trip.

1. Visa-Free Entry

No application needed. You just show up with your passport and you’re good to go. This is the simplest scenario, but it usually comes with a short stay limit.

2. Visa on Arrival (VOA)

You apply and pay for the visa when you land at the destination country’s airport. It’s convenient, but you’ll want to double-check eligibility before you board your flight.

3. e-Visa

An electronic visa you apply for online before your trip. You’ll receive approval via email and present it (digitally or printed) at immigration.

4. Sticker or Embassy Visa

The classic kind. You apply at the destination country’s embassy or consulate in your home country. This one usually involves the most paperwork, but it’s also the most widely recognized type for long-term stays or work purposes.

Common Visa Types You Should Know

The type of visa you need depends entirely on your reason for traveling. Applying for the wrong one is one of the most common mistakes beginners make, so pay close attention here.

a close-up of several open passports with colorful visa stamps spread out on a wooden table

1. Tourist Visa

This is the most common type. It allows you to visit a country for leisure or sightseeing. It usually has a short validity period and does not allow you to work.

2. Work Visa

If you’re planning to take up employment overseas, you’ll need a work visa. This often requires a job offer or sponsorship from your employer. Check out this complete guide to working abroad for more context on what that process looks like.

3. Student Visa

For those enrolling in a course, degree program, or language school abroad. Your institution will usually provide a letter of acceptance that you’ll need for the application.

4. Business Visa

For attending meetings, conferences, or business events. It’s different from a work visa because it doesn’t allow you to be employed in the country.

5. Long-Term Residence Visa

For people planning to stay in a country for an extended period, perhaps joining a family member or retiring abroad. Requirements vary widely by destination.

How to Get a Visa: Step-by-Step

Okay, now we’re getting into the real stuff. Here’s a straightforward breakdown of the typical visa application process. Keep in mind that specific steps may vary depending on your destination country, but this general flow applies to most embassy visa applications.

a person sitting at a desk filling out paper forms with a laptop open beside them and a passport nearby

1. Determine the Visa Type You Need

Go to the official website of the destination country’s embassy or immigration authority. Look for their visa categories and match your purpose of travel to the right type. If you’re unsure, you can contact the embassy directly.

2. Check the Requirements

Every visa comes with a checklist of documents. Common items include:

  • A valid passport (usually with at least 6 months validity remaining)
  • Completed application form
  • Passport-sized photos
  • Proof of financial sufficiency (bank statements)
  • Travel itinerary or flight bookings
  • Accommodation proof (hotel bookings or host’s invitation letter)
  • Travel insurance (required by some countries)
  • Supporting documents specific to your visa type (e.g., employment letter, school acceptance letter)

3. Prepare Your Documents

Gather everything on the checklist carefully. Make sure your documents are complete, up to date, and translated into the required language if necessary. Missing even one document can delay or reject your application.

4. Fill Out the Application Form

Most embassies have their forms available online. Fill them out accurately and honestly. Any inconsistencies between your form and your supporting documents can raise red flags.

5. Book an Appointment (If Required)

Some embassies require you to schedule an appointment in advance, either for document submission or for an interview. Book early, especially during peak travel seasons when slots fill up fast.

6. Submit Your Application

Bring your complete documents to the embassy or consulate, or submit them through the official online portal if an e-visa option is available. Keep copies of everything you submit.

7. Pay the Visa Fee

Visa fees vary depending on the country and visa type. Make sure you’re paying through the official payment channel, and keep your receipt.

8. Wait for Processing

Processing times range from a few business days to several weeks. Plan ahead and apply well before your intended travel date. Some countries offer expedited processing for an additional fee.

9. Collect Your Visa or Receive Approval

Once approved, you’ll either collect your passport with the visa sticker or receive your e-visa via email. Review it carefully to check the validity dates, number of entries, and any conditions attached.

Tips to Improve Your Visa Approval Chances

Getting rejected is frustrating, but many rejections are preventable. Here’s how to put your best foot forward:

  • Apply early. Don’t leave it to the last minute. Give yourself a buffer of at least 4 to 6 weeks before your travel date.
  • Be consistent. Your application form, itinerary, and supporting documents should all tell the same story.
  • Show ties to your home country. Embassies want to see that you have reasons to return home, such as a job, property, or family.
  • Keep financials solid. Show that you have enough funds to support yourself throughout the trip.
  • Follow instructions precisely. Every embassy has its own rules about photo sizes, form formats, and document order. Don’t skip the details.

What Happens After You Arrive?

Getting your visa is a big win, but the journey doesn’t stop there. Once you’re settled in your destination, there’s a whole new checklist to get through, especially if you’re staying long-term. You’ll want to sort out things like opening a local bank account, understanding local rules, and building your daily routine abroad.

Many Indonesians who move overseas also find it helpful to connect with the wider Indonesian diaspora community, which can be an incredible source of practical advice and emotional support.

See Also: How to Find a Job Abroad: A Practical Guide

Getting a visa might feel overwhelming at first, but once you break it down into steps, it becomes totally manageable. Stay organized, start early, and always go to official sources for the most accurate requirements. The world is out there waiting for you, and a little paperwork is absolutely worth it. If you’re sending money back home or managing finances across borders during your time abroad, Transfez is here to make that part of the journey smooth and simple too.

Download the Transfez App

The Transfez app helps you send money abroad faster, cheaper, and more efficiently. Jack Finance can also support your company's cross-border transactions. Sending money to family studying, working, or traveling overseas? Transfez has you covered. Available on Android and iOS — download now!